

"As a researcher I want to host Jupyter notebooks on the web for free so that people can access them over the internet."
The Jupyter Notebook has become a very popluar web application for sharing and creating documents that contain live code, equations, visualisations and narrative text. This article put together a number of user-friendly pathways for running live, interactive Jupyter notebooks on the web, and documentation on how to use it.
| Free | Python | R | Julia | Collaboration | External repositories | |
|---|---|---|---|---|---|---|
| Binder | ✔ | ✔ | ✔ | ✔ | ✘ | GitHub, GitLab, Gist, Figshare etc. |
| Google Colaboratory | ✔ | ✔ | ✔ | ✔ | ✔ | Google Drive, GitHub |
| Kaggle | ✔ | ✔ | ✔ | ✘ | ✔ | GitHub, Kaggle datasets |
| Microsoft Azure notebook | ✔ | ✔ | ✔ | ✘ | ✔*(if on subscription) | Azure databases |
| JupyterHub | ✔ | ✔ | ✔ | ✔ | ✔ |
Binder (mybinder.org) is a free and transparent public service offers an easy place to share
computing environments to everyone. It allows users to specify custom environments and share them with a single link.
Use-cases involve workshops, scientific workflows and streamline sharing among teams.
Generally you'll need to following these steps before using Binder:
Store your data and Jupyter notebooks in a public repository supported by Binder, for example, GitHub, Git, or Figshare (see the full list on mybinder.org). For illustration, I have created a GitHub repository and uploaded my notebook and data.
You must create at least one configuration file that specifies your denpendencies and/or configuration of environments. Configuration file varies according to programming languages, see this documentation for more info. For my notebook that is written in Python, I have simply created a file called environment.yml:
channels:
  - defaults
  - conda-forge
dependencies:
  - ipython
  - seaborn
  - matplotlib
  - numpy
  - scipy
  - pandas
Go to Binder and build your repository:
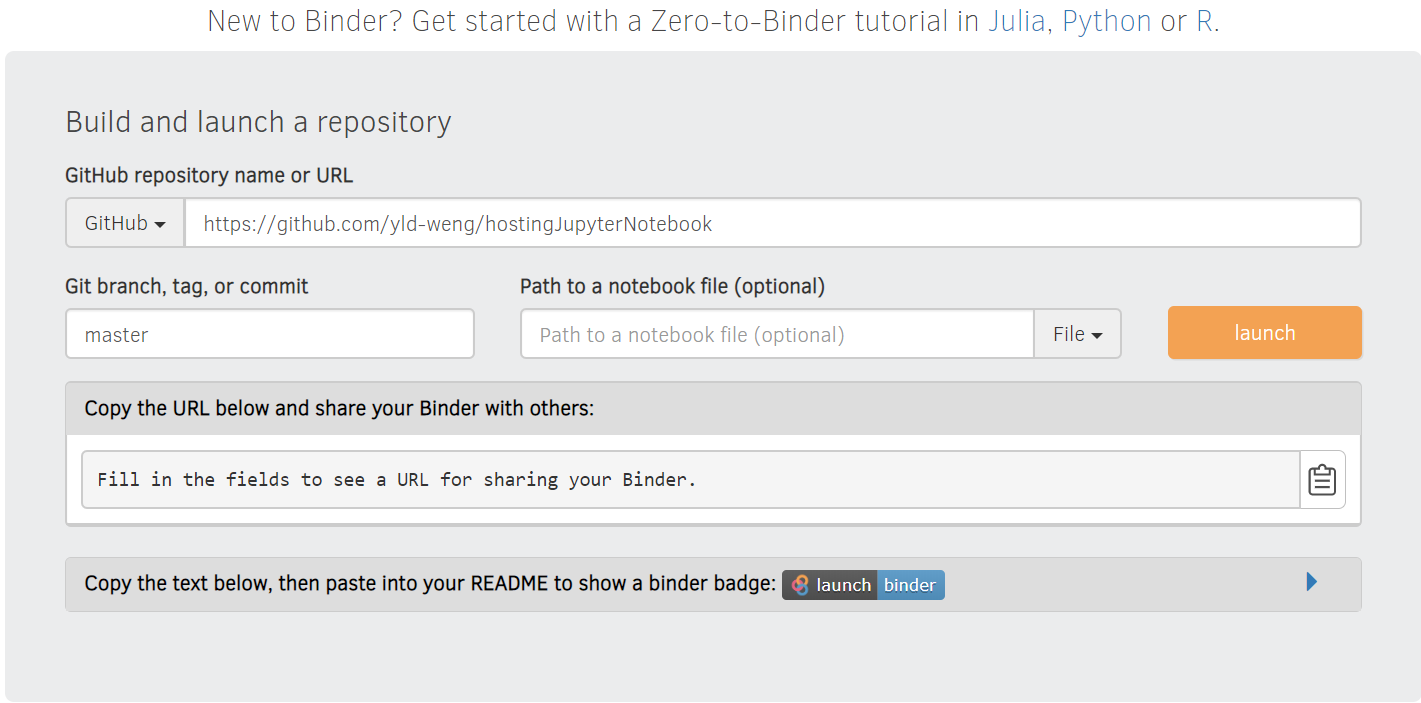 Once you have filled all the details and clicked launch, Binder will start working on it and if the build is
successful, webpage should be navigated to a Jupyter notebook process
(my notebook) same as you
would expected in local machines.
Once you have filled all the details and clicked launch, Binder will start working on it and if the build is
successful, webpage should be navigated to a Jupyter notebook process
(my notebook) same as you
would expected in local machines.

On the main page Binder also provides a badge for your notebook that you can embed anywhere you like. You can either share this badge or just copy the URL.
Rebuilt the repository if you have made new changes to your code/data.
Google Colaboratory is a free online Jupyter notebook
environment that allows you to run your notebook without installation of dependencies and environments.
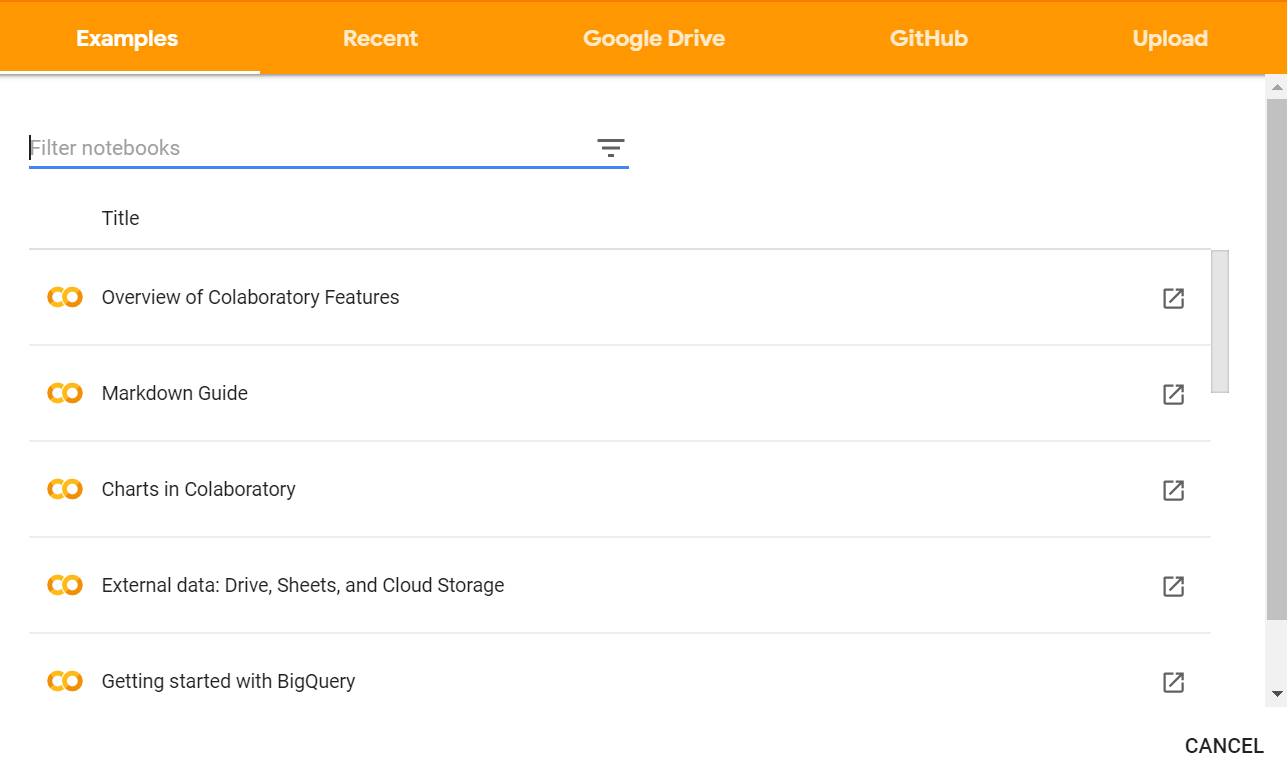
Goole Colab accepts files from upload as well as GitHub repository, or you can connect it to your Google Drive
and open any notebooks from there.
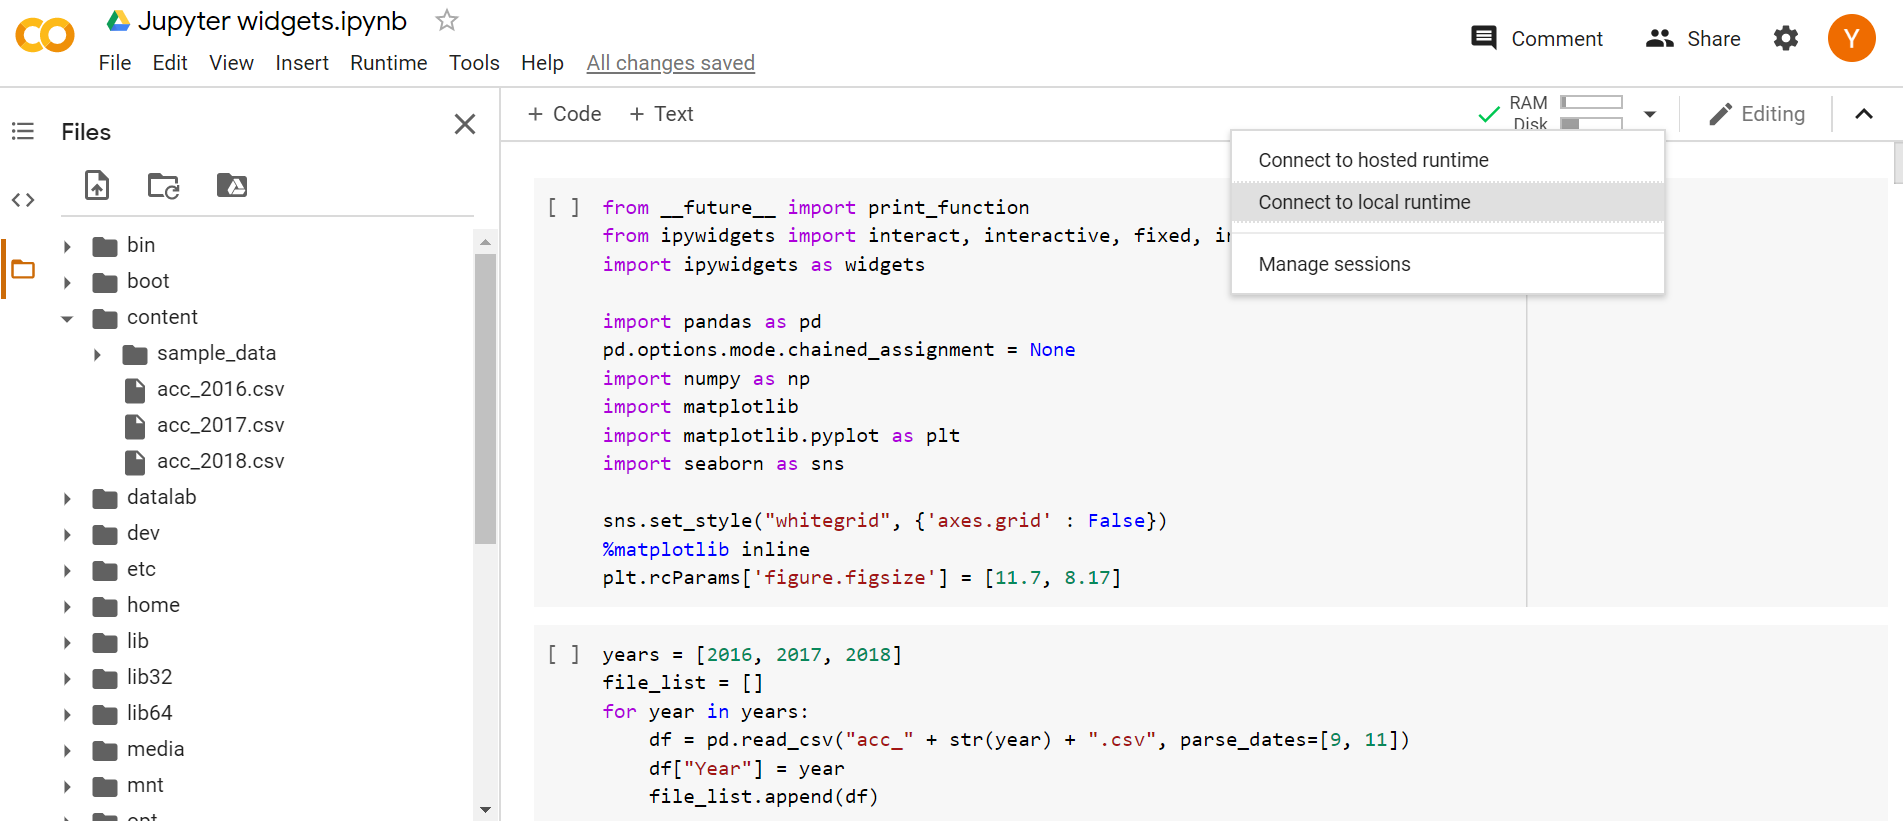
 The user interface is similar to Jupyter notebook so it is relatively easy to use. Just beware that there are
two environments hosted runtime (default) and local runtime you can connected to. For hosted runtime
the notebook will be execute on Google Compute Engine backend, and any files you have uploaded (note: ideally
data should be placed under the content folder) will be cleared once the session is terminated. Connect to a
local runtime using Jupyter allows you to execute code on your local hardware but beware notebooks will have
access to your local file system.
The user interface is similar to Jupyter notebook so it is relatively easy to use. Just beware that there are
two environments hosted runtime (default) and local runtime you can connected to. For hosted runtime
the notebook will be execute on Google Compute Engine backend, and any files you have uploaded (note: ideally
data should be placed under the content folder) will be cleared once the session is terminated. Connect to a
local runtime using Jupyter allows you to execute code on your local hardware but beware notebooks will have
access to your local file system.
Lastly, share your notebook by using the share button on the top right of the page (as you how you would share a google drive file).
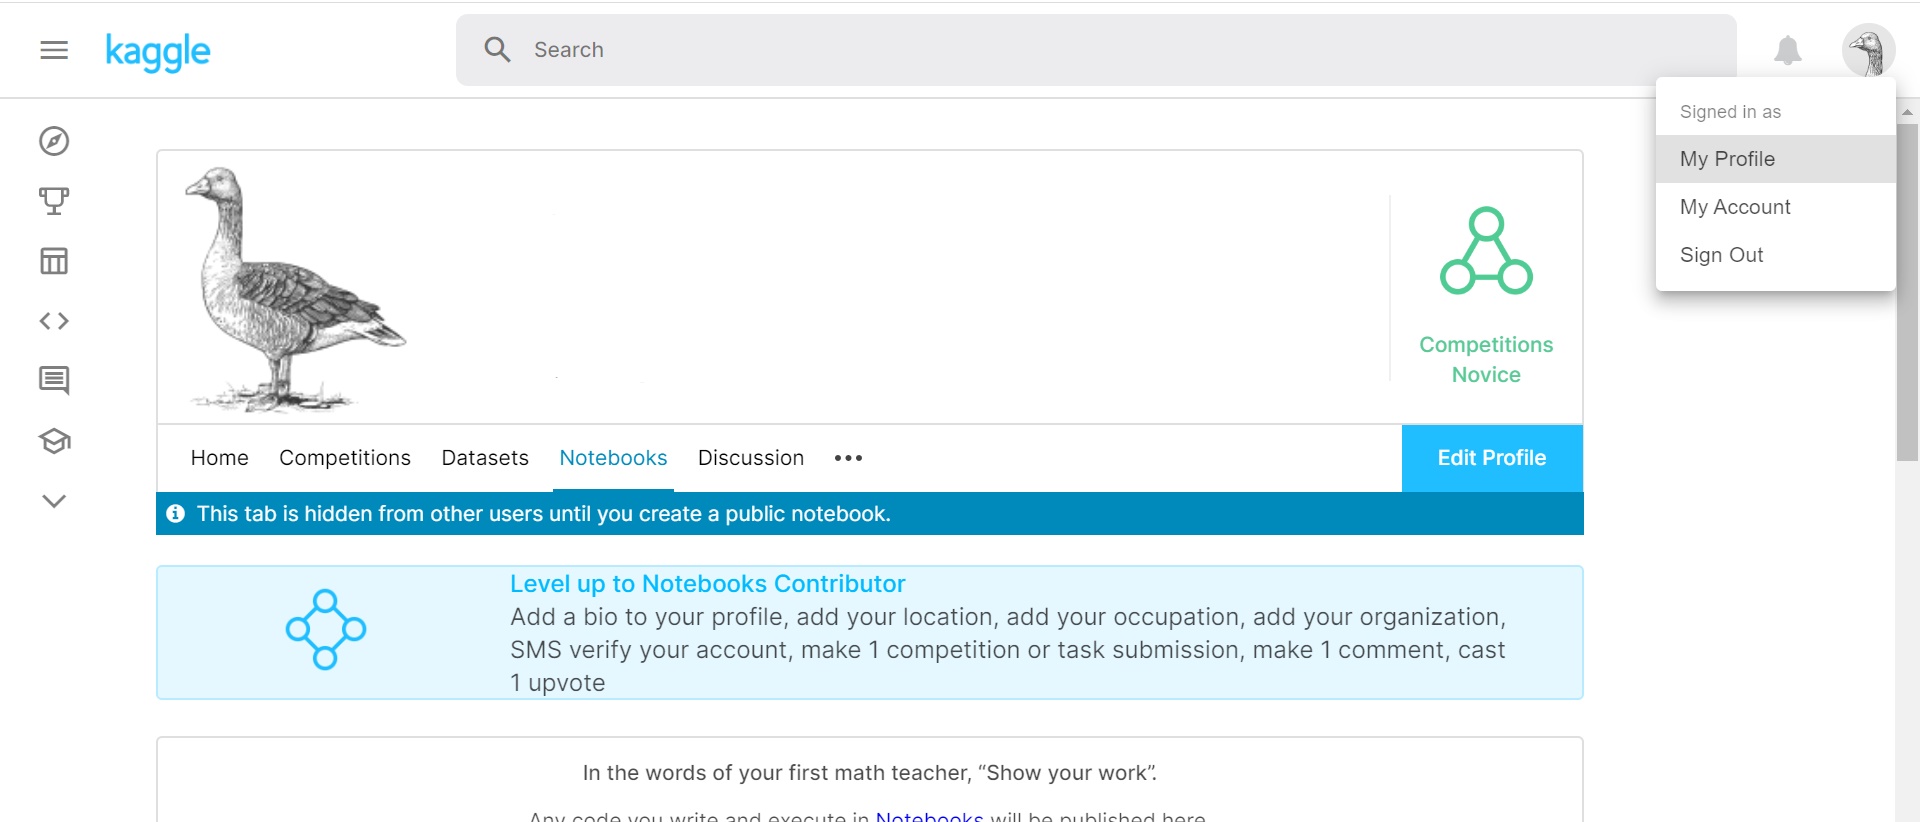
Kaggle is a popluar machine learning and data science community attracted more than one million users from over
190 countries and regions. To host a notebook on Kaggle simply register an account and go to My Profile - Notebooks, at
the bottom of the page click on New Notebook button.
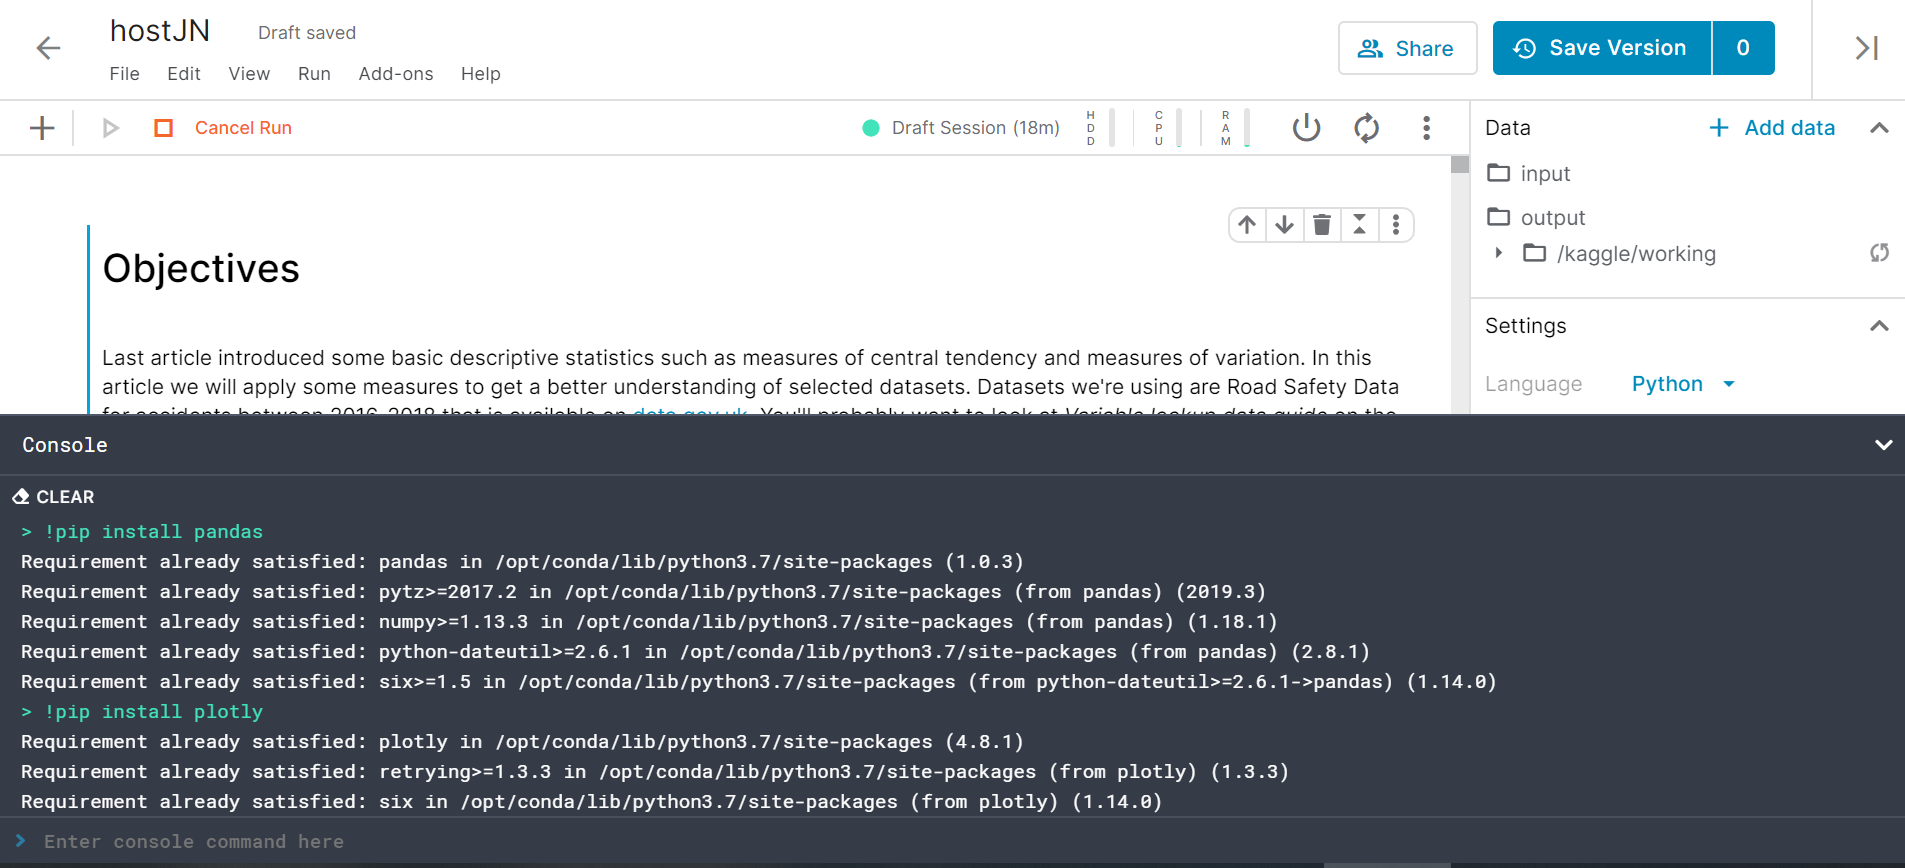
Use the editor to write a new notebook or upload your existing notebooks and data. One of advantages of hosting
Kaggle notebook is you can use datasets that was published on Kaggle as data sources, without needing to download then
upload again. Kaggle notebook also comes with some pre-installed packages, installation of additional packages
or checking whether a package is installed can be done via console with the command
!pip install my-package (read more here).
Similar to the Google Colab, use the share button to let your notebook open to public!
Microsoft also provides a free hosted service allows you to run Jupyter notebook without any installation.
Azure notebook have almost identical user interface to Jupyter notebook, so that anyone have used Jupyter before will
find no trouble using it. To use it, create a microsoft account or log in with your existing account.
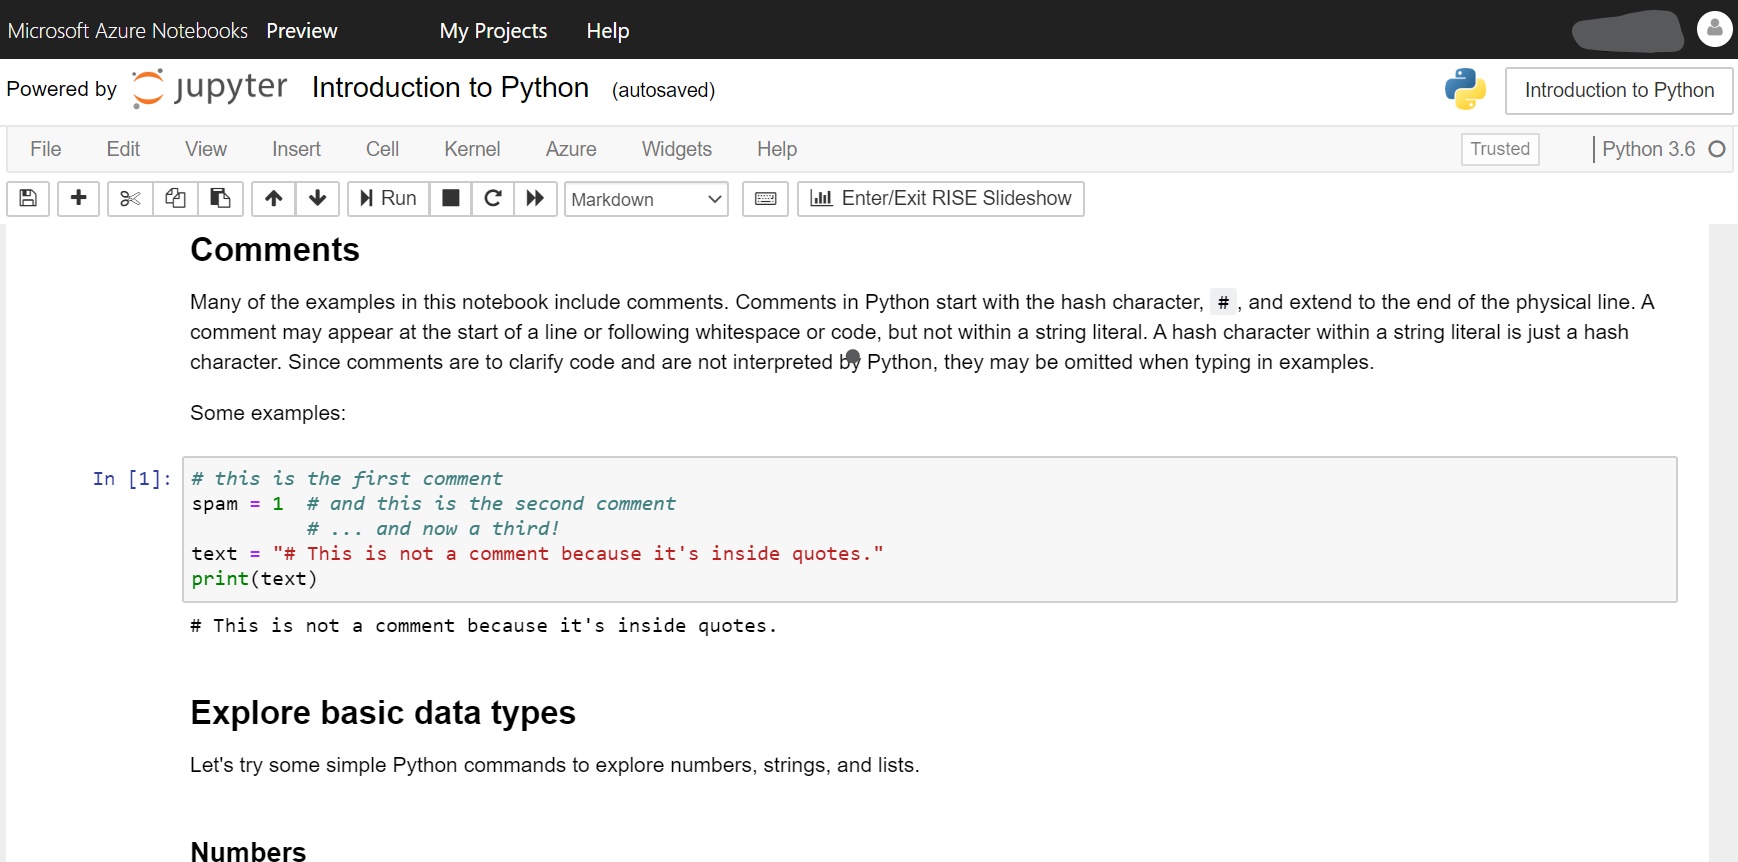
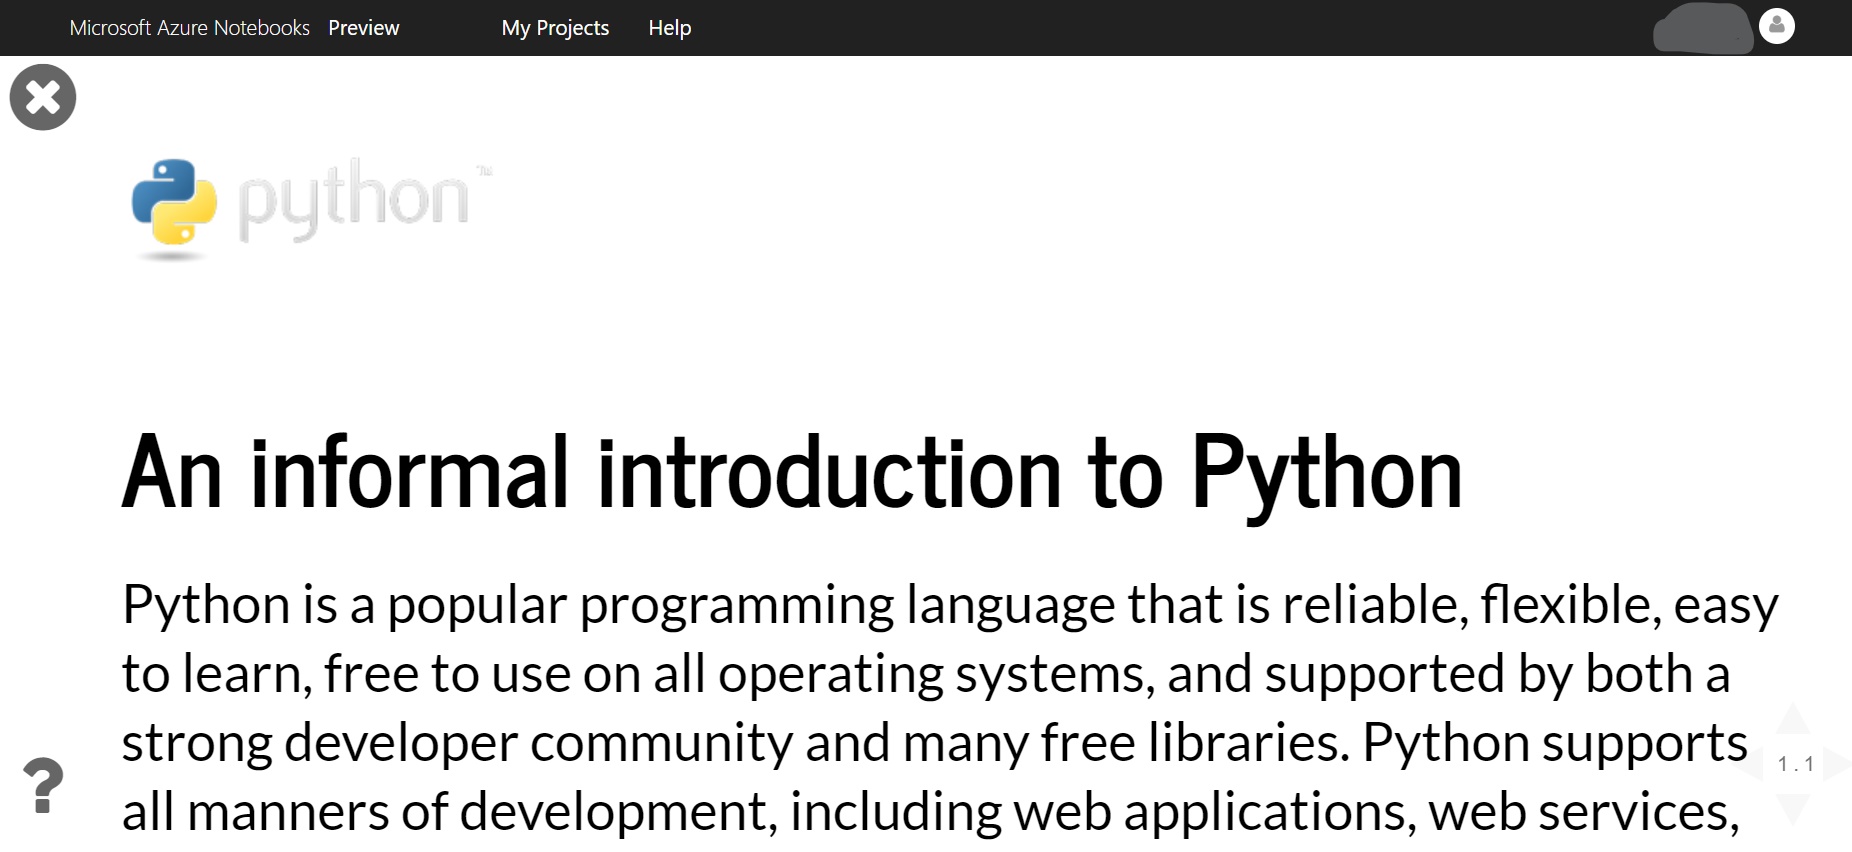
Same as the Google Colab Microsoft have provided some examples for you to start and you would not need to install any required packages. One particular feature that does not exist in other providers is a slideshow extension which allows you to use it for presentations of notebooks.
Learn more about Azure notebook here.
JupyterHub is a multi-user version of the notebook which gives users access to computational environments and resources without burdening the users with installation and maintenance tasks. Typically, you'll need to run it on cloud or on your own hardware. Gracefully, you can run JupyterHub on ShARC (Sheffield Advanced Research Computer), The University of Sheffield’s new High Performance Computing System and the successor to Iceberg. To learn more how to run JupyterHub on ShARC, read the documentation.